In this Bargello Quilt Tutorial for Beginners, I will talk about selecting and organizing your fabrics and basic techniques on how to make a simple bargello quilt top. As part of this bargello quilt guide, I will include pictures of different bargello quilts to give you a sampling of some of the unique quilt tops that can be created using bargello quilt instructions.
Selecting & Sorting Your Fabrics
When selecting your fabrics, you will need to decide how many color groups you want in your quilt or how many the selected pattern suggests – usually 1 or 2 color groups work great for a color wash effect. For each color group, you will need color gradations ranging from dark value to light value. It is best to choose more fabrics than you’ll need for your project so you can eliminate the ones that aren’t blending in well. Don’t be afraid to select some fabrics that are “out of your box” as many times these are the fabrics that really make your quilt stunning.
In my sample, I chose to use Bali Pop packs which contained 2 sets of 20 strips of unique fabrics in 2 color groups. I sorted them into their color groups – 8 pink fabrics and 12 brown/tan/cream fabrics. An uneven split in your color groups usually makes for a more eye appealing quilt.
Next, I sorted all the pink fabrics from dark value to light value and did the same with the brown fabrics. It’s usually fairly easy to determine value. But if you use prints or batiks that have varying colors, it can be more difficult. A helpful tool for determining value is a color value finder. These are pieces of dark red or green plastic. When you look at your fabrics through one of these tools, the color will disappear and you’ll see gray values from dark to light. Most of the time the red color value finder works best. But if your fabrics are red, the red color value finder won’t work. In this case, try using the green color value finder.
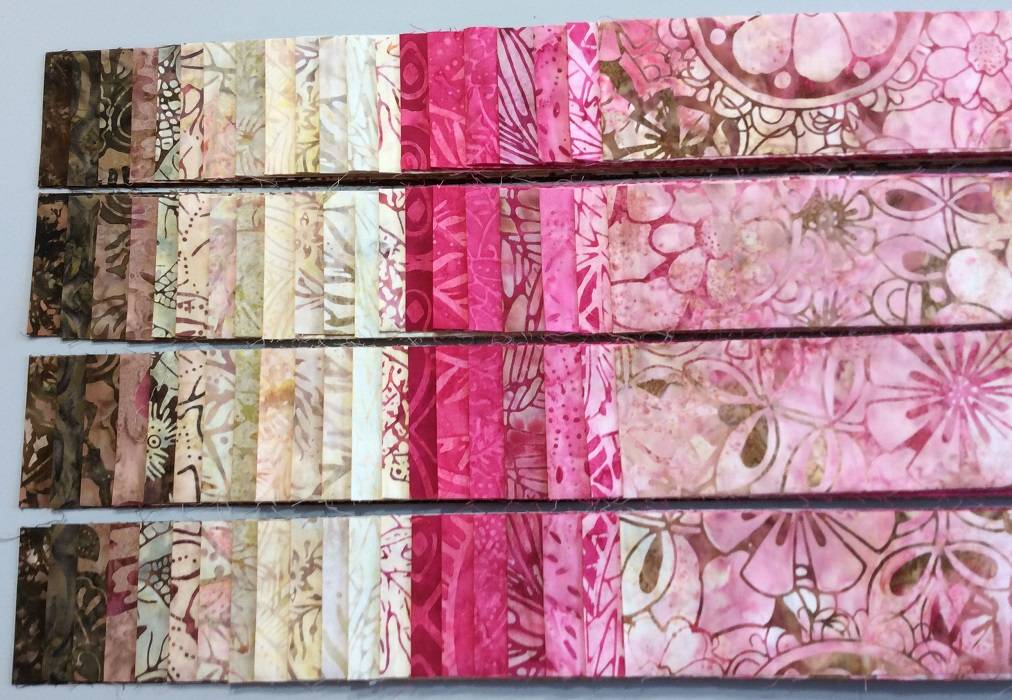
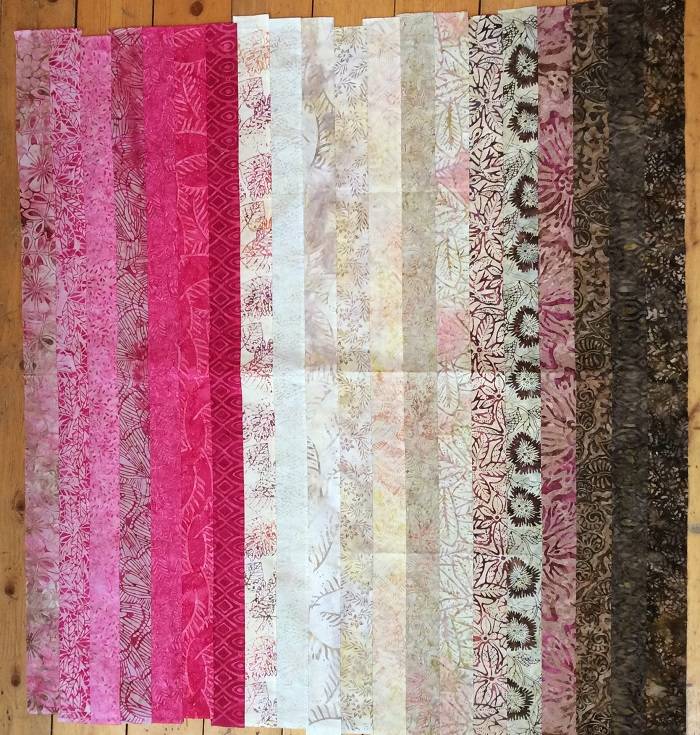
To make my sample, I used 4 groups of 20 – 2½” strips (see Image 1). Using the Bali Pop packs eliminated the need for me to cut the fabric strips. It also made it very simple as all the fabrics contained in the Bali Pop packs coordinated so all I had to do was sort them by color and value. If you are using yardage, you will need to cut the number of strips required from each fabric. Organized these strips into groups with one strip from each fabric in each of the groups.
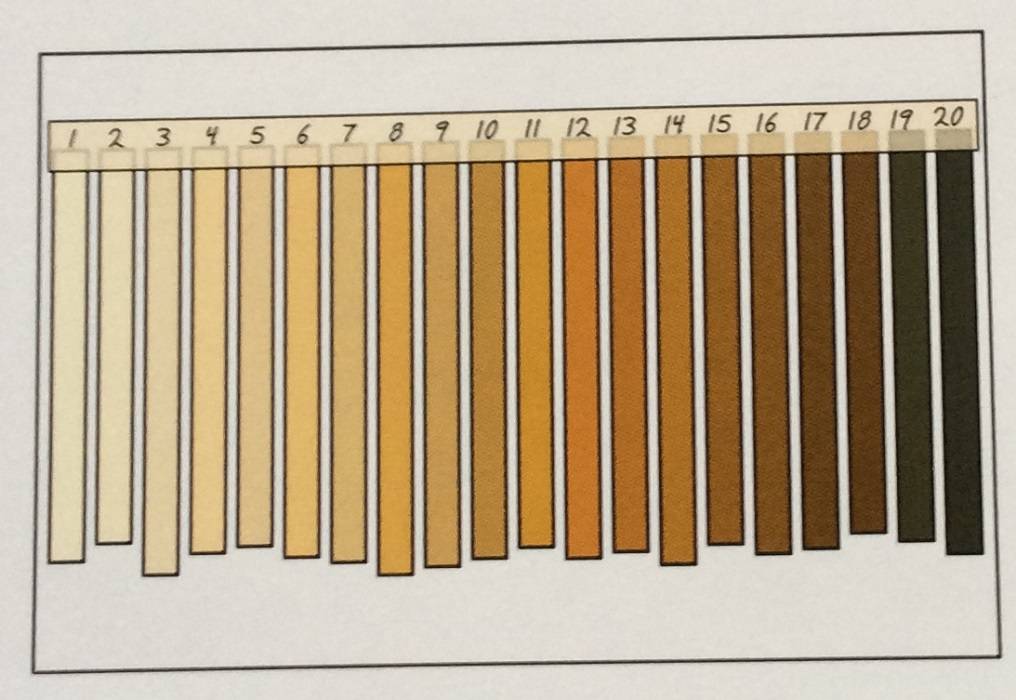
It could be helpful to create a fabric map – especially if you are making a more intricate bargello design. Take a snippet from each of your fabrics and arrange them from dark value to light value. Tape these snippets to a piece of paper and number them from 1 to 20 with number 1 being the lightest value fabric (see Image 2).
Creating the Strip Sets
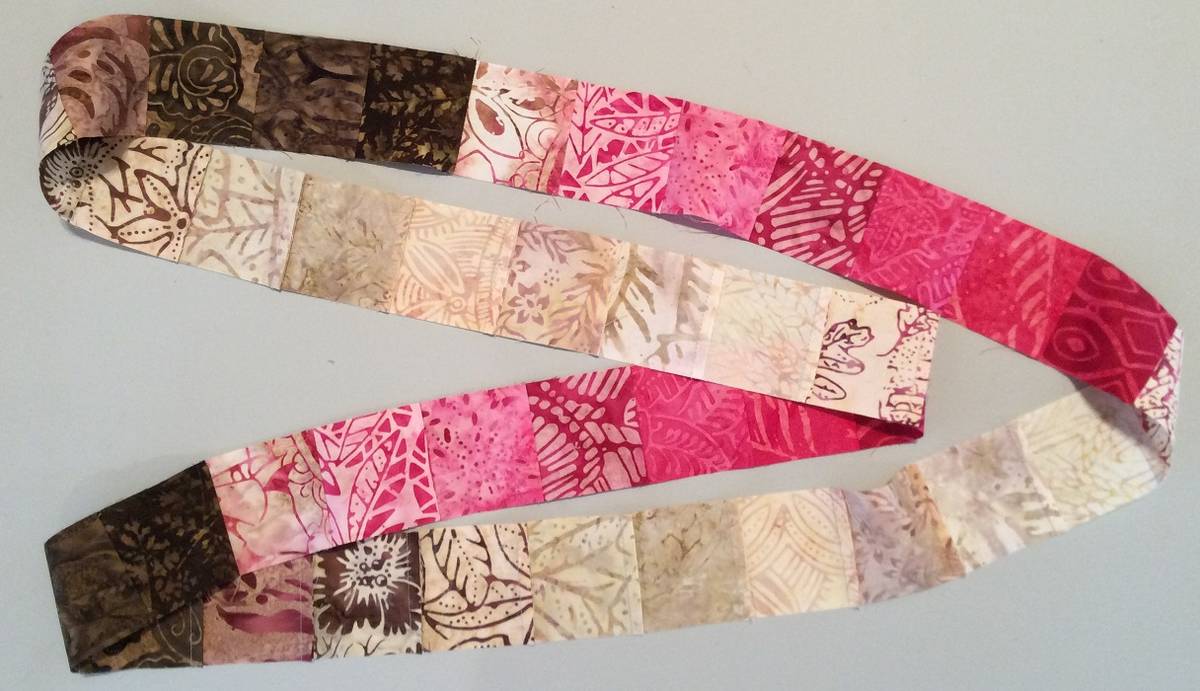
Take each group of 20 strips and sew them together starting with sewing fabric #2 to fabric #1 along the long side of the strips with right sides of the fabric together. Continue the process of making your strip sets by sewing fabric #3 to fabric #2 with right sides together, fabric #4 to fabric #3 with right sides together, and so on until all 20 strips are sewn together into a strip set (see Image 3). To eliminate getting a bow in your strip set, reverse the sewing direction from the last fabric strip added.
Cutting the Slices
Once the strip sets are sewn together, press half the strip sets one direction and the other half the other direction. When cutting slices from your strips sets, you will alternate between the strip sets. For example, cut the 1st slice from one strip set, cut the 2nd slice from a strip set pressed in the opposite direction, cut the 3rd slice from the same strip set as the 1st slice, cut the 4th slice from the same strip set as the 2nd slice, etc. All your odd numbered slices will be cut from the strip sets pressed one direction and all the even numbered slices will be cut from the strip sets pressed the opposite direction.
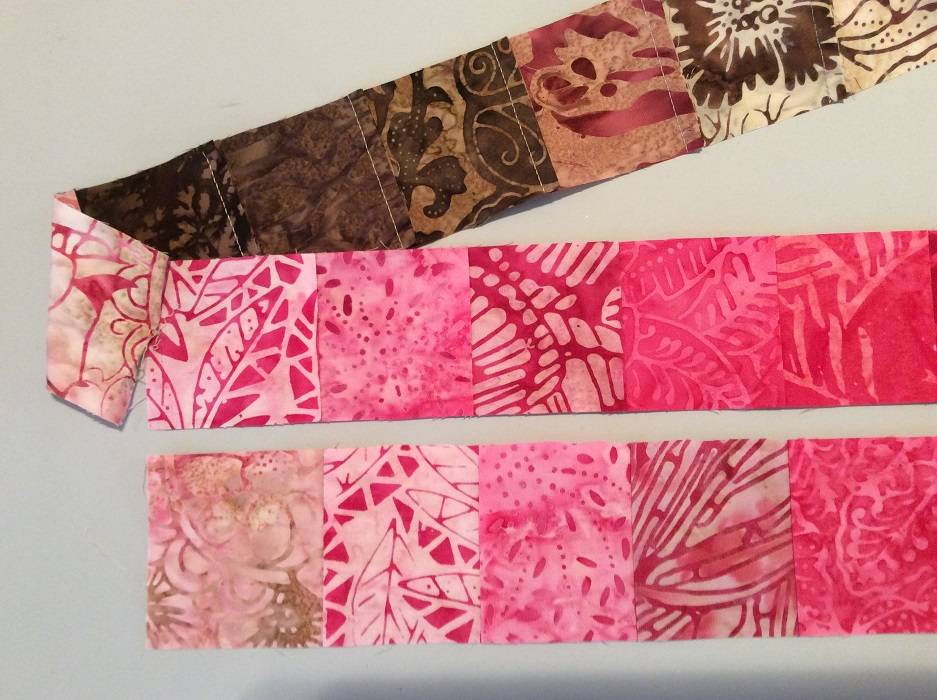
Taking the time to press your strip sets correctly and cutting your slices from alternating strip set will help tremendously with nesting your seams when sewing your slices together. The slices will be cut different widths to create the bargello look you desire. Once a slice is cut, you will sew it into a loop (see Image 4).
Sewing the Slices Together
You will not sew the 1st slice into a loop eliminating the need to remove the stitching you just did. On the 2nd slice, sew into a loop, remove the stitching between fabrics #1 and #2, and lay it next to the 1st slice (see Image 5).. On the 3rd slice, sew into a loop, remove the stitching between fabrics #2 and #3, and lay it next to the 2nd slice. On the 4th slice, sew into a loop, remove the stitching between fabrics #3 and #4, and lay next to the 3rd slice. Continue this process until you have cut all the slices, sewn them into loops, removed the stitching between the fabrics in this sequence, and laid them out (see Image 6).
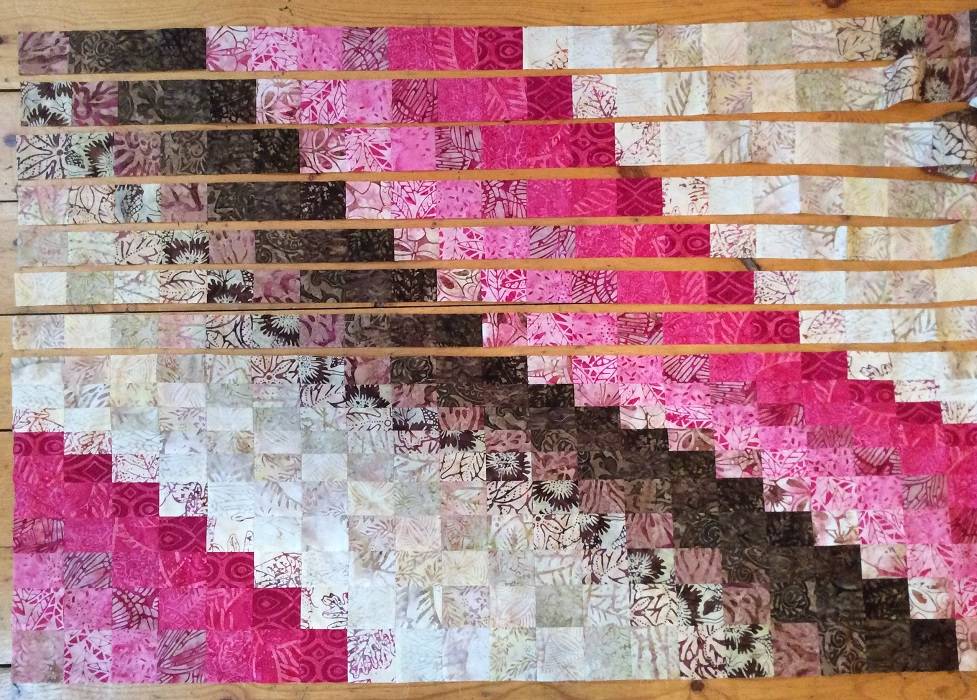
Now sew the 2nd slice to the 1st slice with right sides of the fabric together, the 3rd slice to the 2nd slice with right sides of the fabric together, the 4th slice to the 3rd slice with right sides of the fabric together, and so on until all your slices are sewn together. You now have completed your bargello quilt top (see Image 7).
In the example I did, each “complete slice” actually consisted of 2 slices cut from the same strip set. These 2 slices were sewn together into a loop, sewing both #1 fabrics to #20 fabrics of the other slice. I then followed the same process of removing the stitches between subsequent fabrics to create my bargello quilt top.
Bargello Quilts to Inspire You
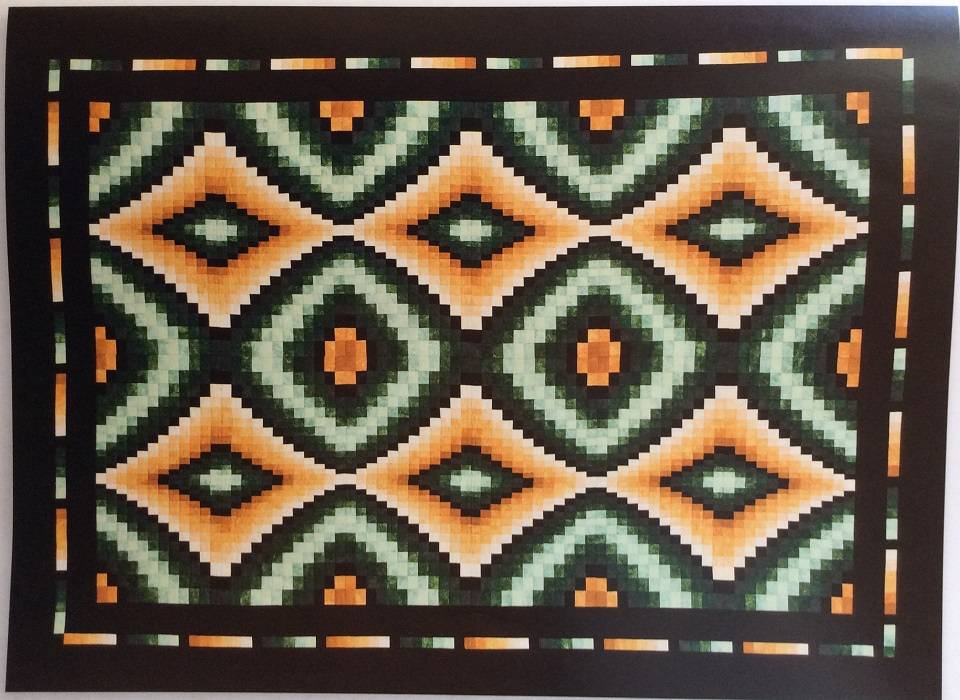
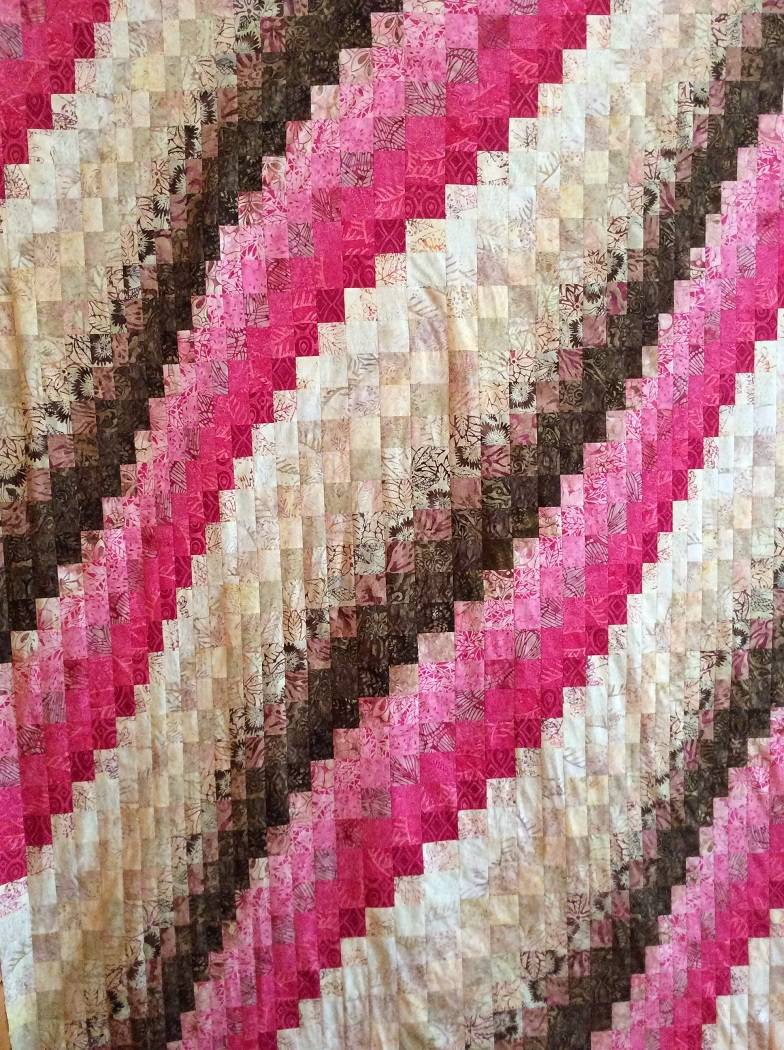
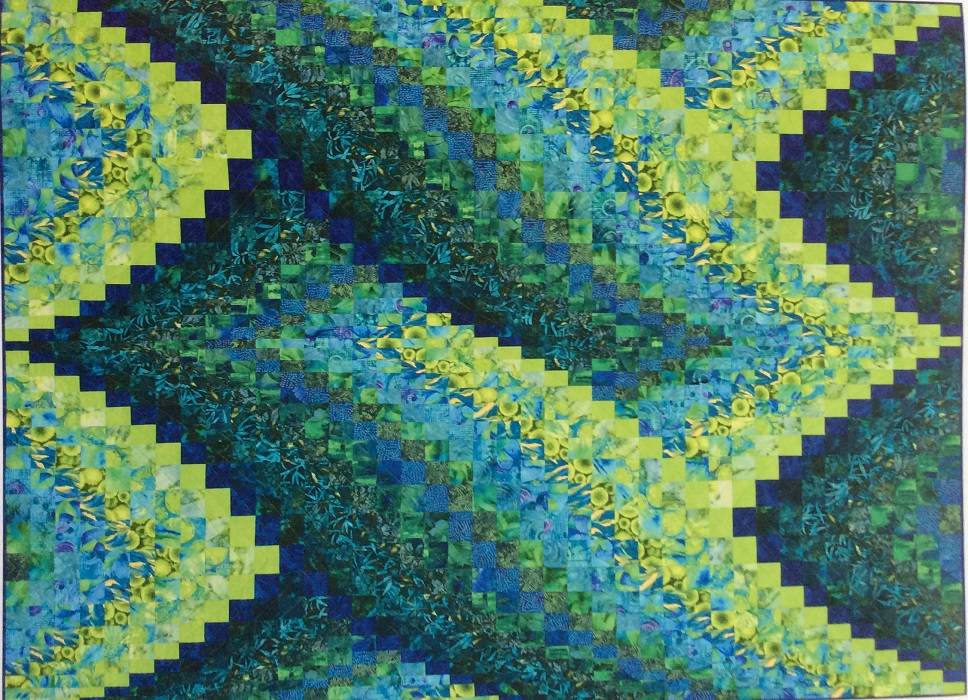
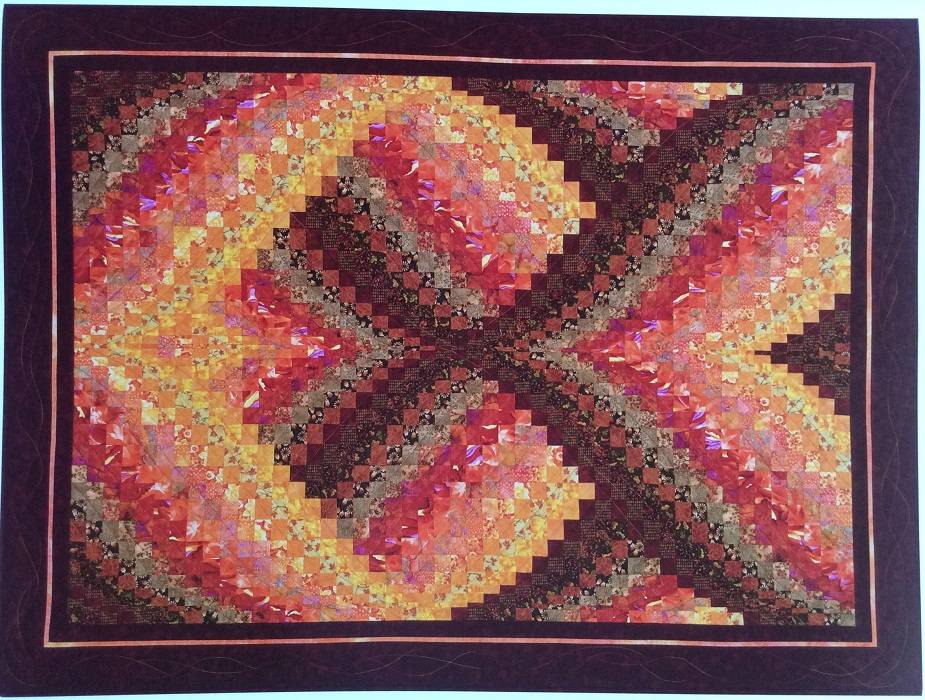
As part of this Bargello Quilt Tutorial, I would like to share some pictures of quilts from a couple of my favorite Bargello quilt books. The sample I’ve shared is from Twist and Turn Bargello Quilts by Eileen Wright. The following pictures are bargello quilt patterns also from this book.

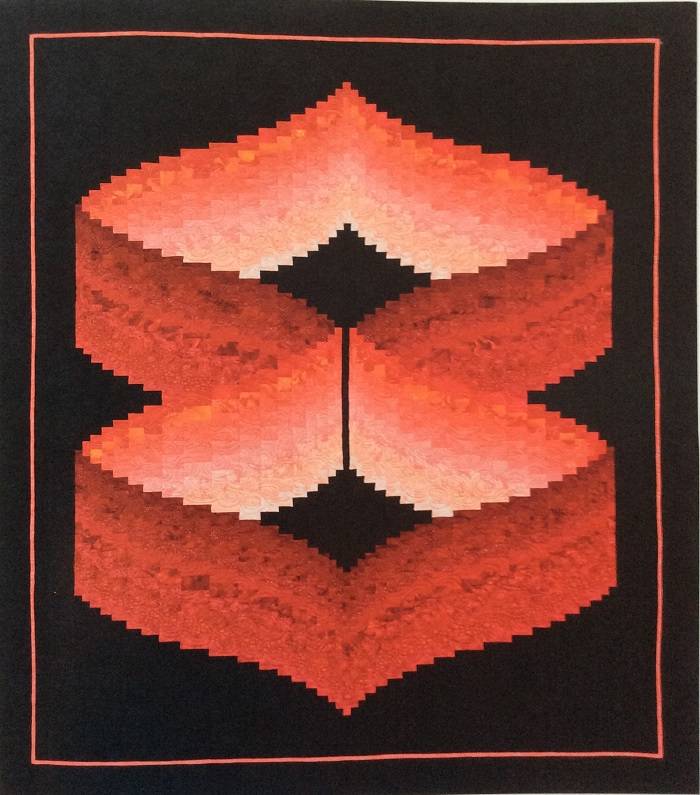
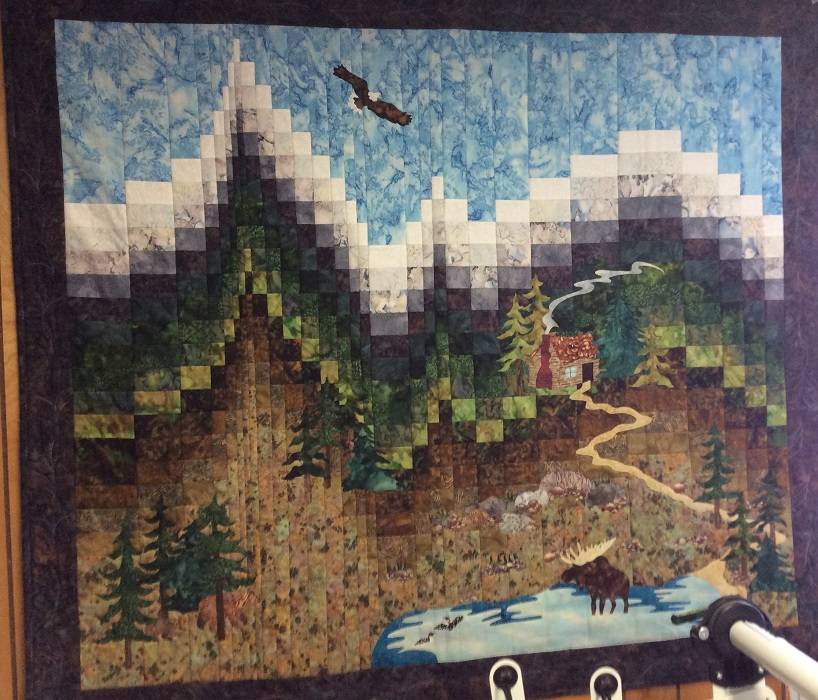
My Cabin in the Woods bargello quilt is a wallhanging I made from the pattern book Beautiful Bargello by Jeanne Stauffer. I love the way this bargello forms the mountain background for my “picture”. I used designs from several patterns I own to create the cabin in the woods theme. The following picture is a bargello quilt pattern from this book.
Creating a bargello quilt is fun and the simple ones are very quick to make. I created the sample in this Bargello Quilt Tutorial for Beginners in about 10 hours. Some of the more intricate bargello quilts, as shown in the above pictures, will take longer as more removing of stitching and re-stitching is required to create the desired pattern.
A class can be scheduled at Smoky Bear Creek Retreats. If you would like to join one of our retreats, I’d love to help you create one of these gorgeous bargello quilts. Happy Quilting!